
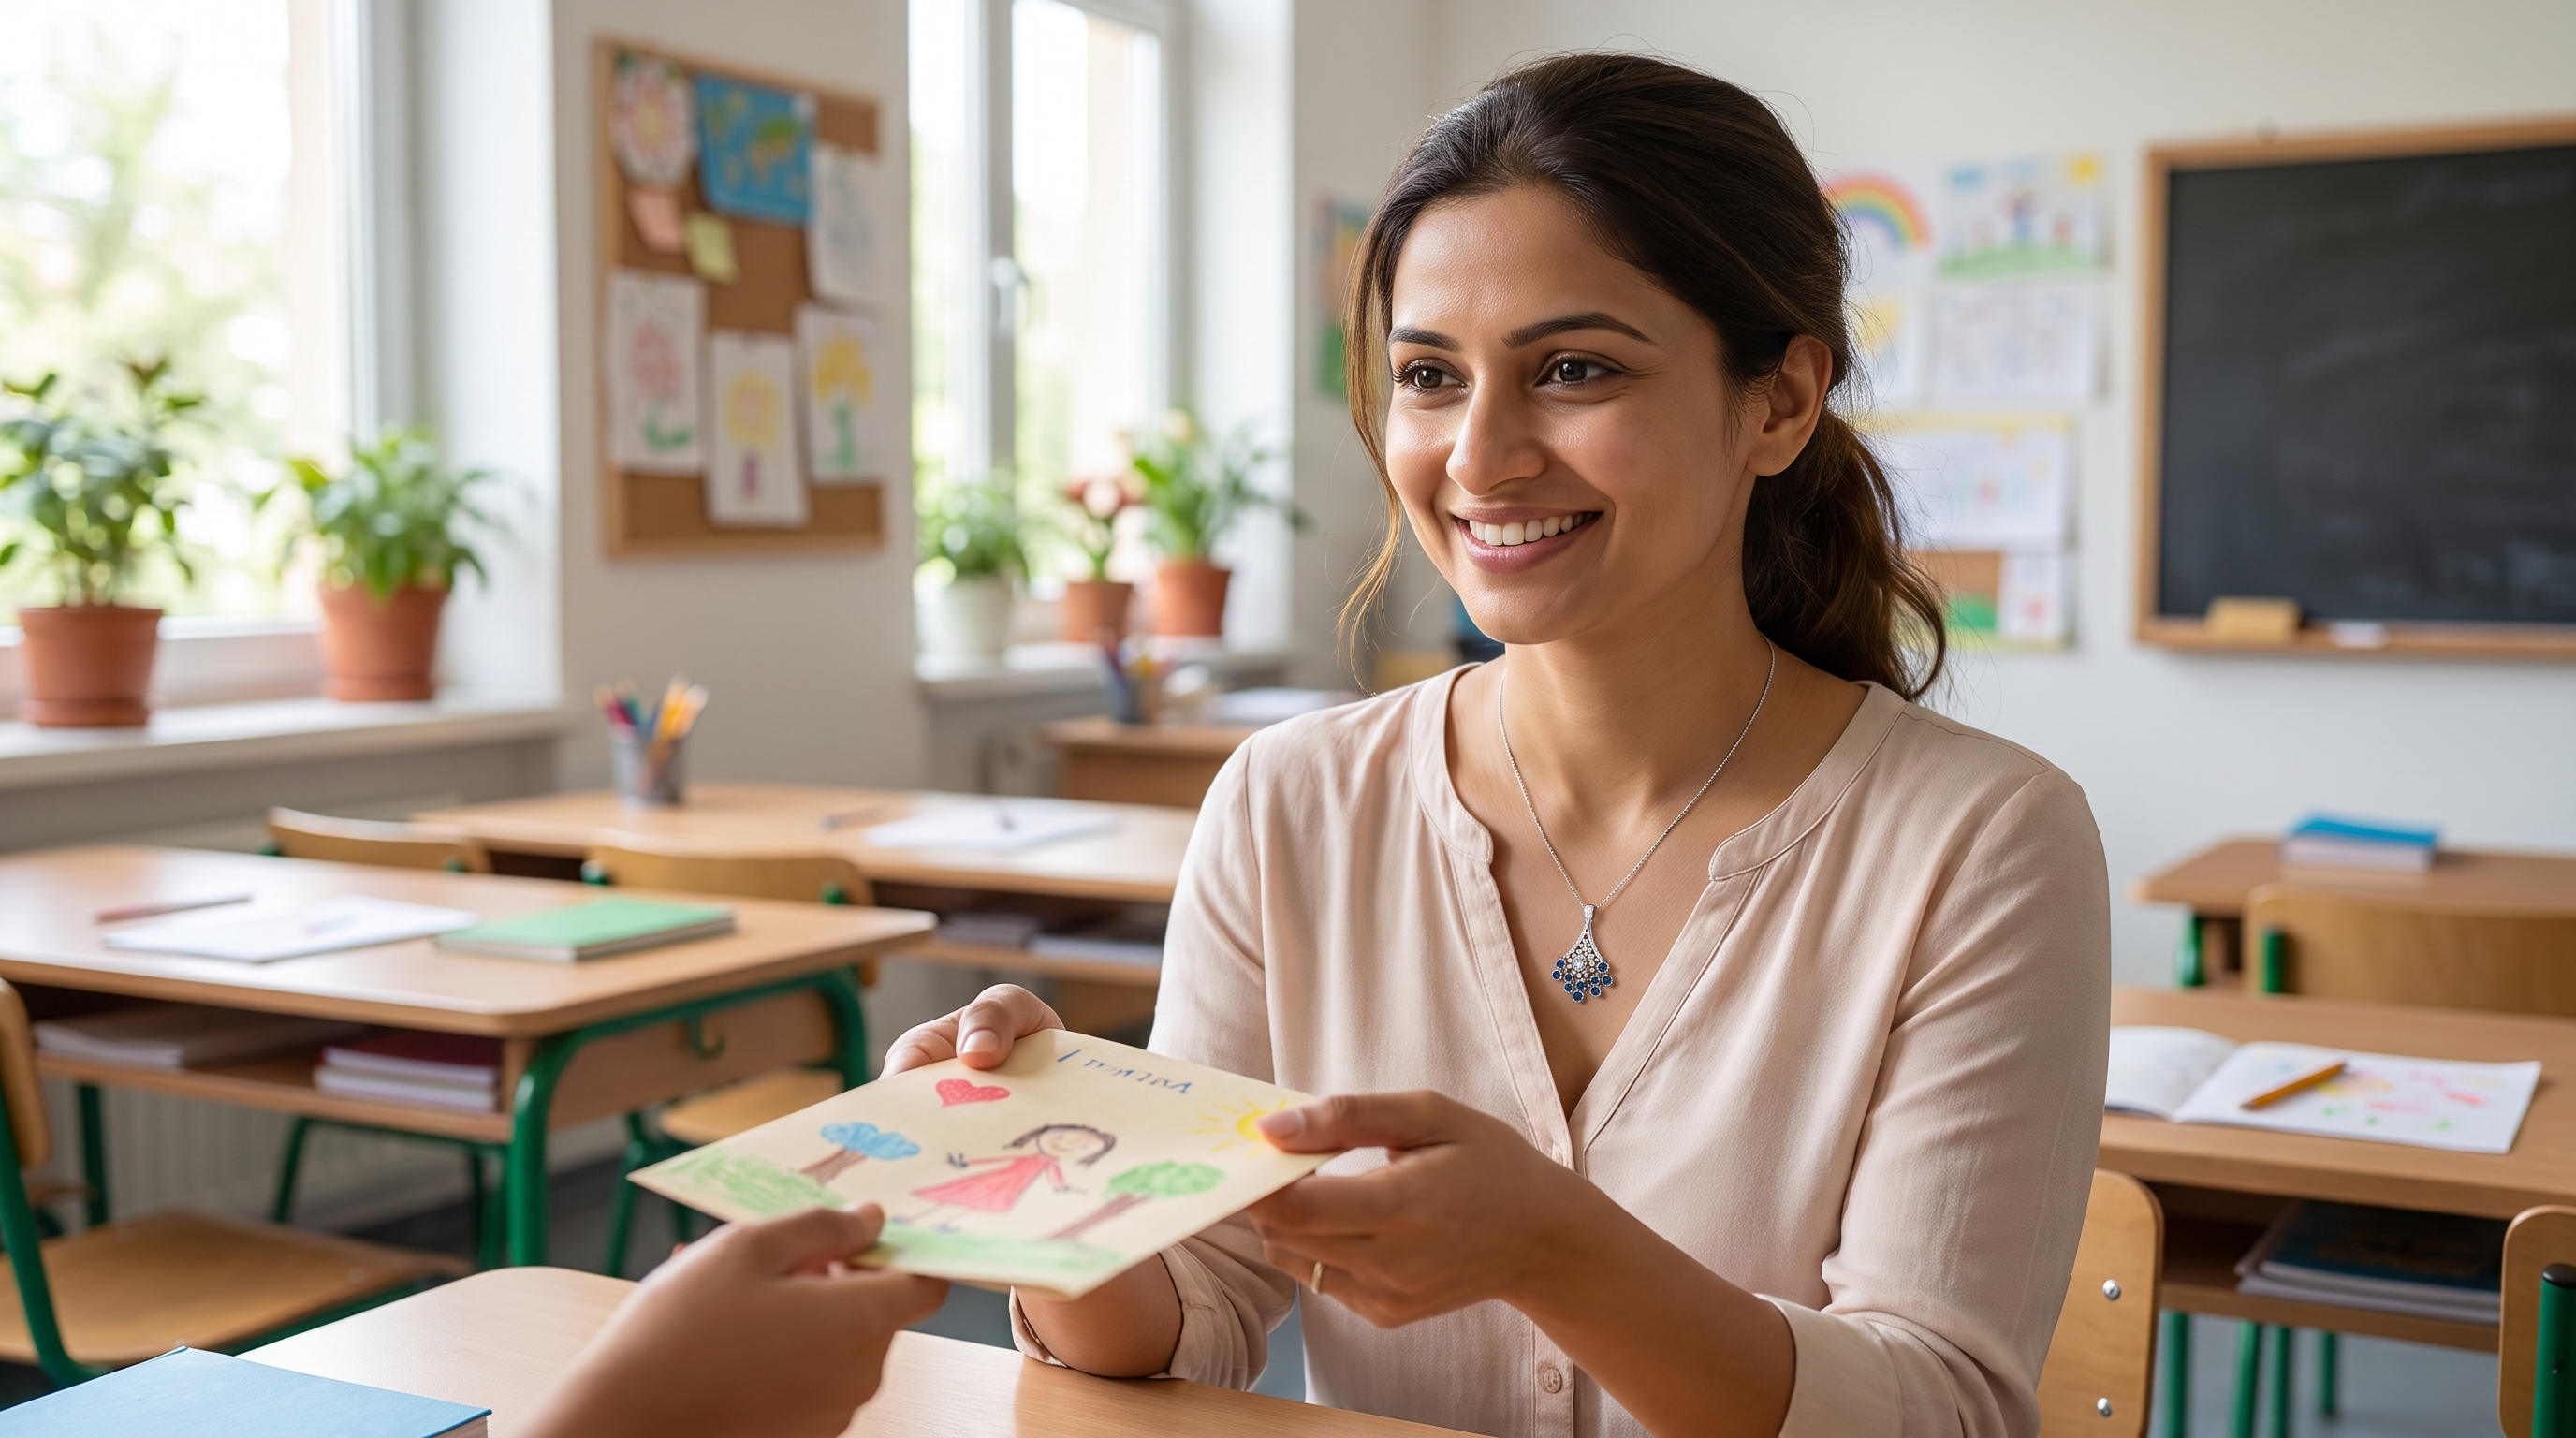
Thank you card making gives a simple message a physical form that someone can keep, display, or revisit. A handmade card does not need complicated tools or perfect lettering. Clear gratitude, an appropriate design, and careful finishing matter more than layers of decoration. The most memorable version usually names what the recipient did and explains why that action made a difference.
This guide covers easy card concepts, useful materials, a reliable making process, original messages, recipient-specific examples, keepsake additions, and practical finishing advice. Adapt the ideas to the recipient’s age, preferences, culture, and the seriousness of the occasion. A playful card may suit a close friend, while a teacher, colleague, mentor, or healthcare worker may appreciate a more restrained design.
Easy Thank You Card Making Ideas
Choose the design after deciding how much you want to write. A short message can sit inside a small folded card, while a class thank-you or collection of memories needs more space. Begin with one focal element and repeat its colour or shape subtly inside rather than filling every surface.
- Create a clean colour-block card with two coordinated shades and a small handwritten title.
- Cut a window in the front panel and place a simple illustration or pressed leaf safely behind it.
- Use one favourite photograph on the cover after confirming that everyone shown is comfortable with it.
- Arrange small paper shapes into flowers, stars, books, or another symbol connected to the recipient.
- Make an accordion card with one short memory or reason for thanks on each folded section.
- Design a bookmark card whose detachable inner panel can be used after the message is read.
- Draw a border inspired by the recipient's hobby while leaving the centre calm and readable.
- Create a pocket inside the card for a recipe, photograph, event ticket, or small handwritten note.

Simple Materials for Handmade Cards
Use what you already have before buying a large craft set. Consistent cardstock, reliable adhesive, and one good pen will improve the result more than numerous decorations. Reused materials can add character, but they should be clean, odour-free, and suitable for the recipient.
- Medium-weight cardstock that folds cleanly without becoming too bulky for an envelope.
- A ruler, pencil, eraser, and bone folder or blunt tool for accurate measuring and creasing.
- Scissors for general cutting and a craft knife used only by an adult on a protected surface.
- Acid-free glue stick or double-sided tape for flat layers that should remain neat over time.
- Coloured paper, fabric scraps, ribbon offcuts, or saved packaging chosen in a limited palette.
- Fine-tip pens and a broader marker tested first to prevent bleeding through the card.
How to Make a Thank You Card Step by Step
Cut the base to twice the intended folded width, mark the centre, and score before folding. Prepare decorative pieces separately and arrange them without glue. Check balance from arm’s length, then attach flat layers before raised details. Keep the inside protected from adhesive and paint while working on the cover.
Write the message on a separate practice sheet first. If the card has removable inserts, complete them before attaching the pocket. Sign and date the inside, allow every layer to dry, then test the envelope. Add postage only after weighing a card with thick or rigid embellishments.


Thank You Messages to Write Inside
A useful thank-you message has three parts: name the gesture, describe its effect, and close warmly. You do not have to use the exact words thank you in every sentence, but the purpose should remain clear. Specific details make a short note feel sincere without requiring dramatic language.
- Thank you for noticing what needed to be done and helping before I even had to ask.
- Your thoughtful support made a difficult week feel much more manageable.
- I appreciate the time, patience, and care you gave so generously.
- Thank you for the lovely gift and, even more, for remembering what I enjoy.
- Your advice helped me see the situation clearly and choose my next step with confidence.
- I am grateful for the warm welcome and the effort you made to include everyone.
- Thank you for celebrating this milestone with me and making the occasion feel complete.
- Your kindness arrived at exactly the right moment, and I will remember it for a long time.
- I hope you know how much your steady encouragement has contributed to my progress.
Thank You Cards for Teachers, Friends, and Others
The relationship determines tone. A teacher’s card can mention a lesson or method that helped, while a friend’s note may sound more conversational. Professional recipients usually need a respectful message that does not reveal confidential details. Use titles only when they match the recipient’s preference.
- For a teacher: Thank you for explaining difficult ideas with patience and encouraging me to keep trying.
- For a friend: I appreciate the honest conversations, practical help, and laughter you bring to ordinary days.
- For a colleague: Thank you for sharing your experience and helping our team complete the project smoothly.
- For a neighbour: Your timely help made a real difference, and I feel fortunate to live near such thoughtful people.
- For a host: Thank you for the delicious meal, relaxed conversation, and care that made everyone feel at home.
- For a mentor: Your questions helped me think independently rather than simply giving me an easy answer.
- For a family member: I am grateful for the many quiet ways you support us without expecting recognition.
- For a healthcare worker: Thank you for treating my concerns seriously and explaining each step with clarity.
A Small Keepsake Gift Idea
A card can hold a modest keepsake, but the addition should support the message rather than distract from it. Consider storage, allergies, school or workplace policies, and whether the object creates an obligation. A thoughtful written detail is enough when a gift would feel inappropriate.
- Add a small printed photograph inside with the date and names written lightly on the back.
- Include a detachable bookmark decorated in the same colours as the card.
- Write a favourite recipe or reading recommendation on a separate insert.
- Create a mini envelope for a private note that should not be visible when the card is displayed.
- Choose jewellery for a major thank-you occasion only when you understand the person's taste, size, and comfort.
For a significant milestone, jewellery may accompany a thank-you note if the relationship and recipient’s style make it suitable. Notice whether the person wears rings, earrings, pendants, or bracelets, and confirm metal preferences and sizing. Explain the reason for the gift inside the card instead of relying on cost to express appreciation.

How to Finish a Card Neatly
Trim protruding edges with a ruler and sharp tool on a protected mat, or use scissors slowly for simpler shapes. Remove visible pencil marks after ink dries. Press flat cards between clean sheets under a light book, but do not crush raised flowers, beads, or folded elements.
Inspect the front, inside, back, and envelope in good light. Check for glue strings, loose corners, ink transfer, and spelling errors. If a correction cannot be made cleanly, cover it with a deliberate label or remake the affected insert rather than scribbling over the mistake.
Helpful Pointers Before Giving the Card
- Decide who will receive the card and what specific action you are thanking them for before selecting a design.
- Sketch the layout on scrap material so spelling, spacing, and fold direction are settled before the final version.
- Limit the palette to two or three main colours for a handmade card that feels visually connected.
- Measure the envelope first when the finished card must be mailed or carried to an event.
- Score thick cardstock before folding to prevent a cracked, uneven centre line.
- Test ink, paint, and adhesive on an offcut because colours and drying behaviour vary by material.
- Keep heavy embellishments away from the fold and lower edge so the card opens and stands properly.
- Allow wet layers to dry completely under clean, gentle weight before writing the inside message.
- Use a pencil guideline for hand lettering, then erase it only after the ink is fully dry.
- Check the recipient's name, title, and preferred spelling before completing the front or envelope.
- Replace broad praise with one real detail that shows why the person's effort mattered.
- Leave enough blank space around the message so the handwriting remains comfortable to read.
- Photograph the finished card for your records before sealing it, especially when several people contributed.
- Deliver the card privately when the message mentions personal support, health, work, or a difficult experience.
Eco-Conscious and Accessible Card Choices
Use recycled or responsibly sourced card where practical and avoid mixing materials that are difficult to separate. Fabric offcuts, clean packaging, and leftover ribbon can be reused selectively. Skip glitter that sheds and avoid sending seeds or plant material across regions where agricultural restrictions apply.
Choosing the Right Tone
Warmth does not require exaggerated praise. Write as you would speak respectfully to the recipient, then remove filler that could fit any person. If the help followed a difficult event, acknowledge it without revealing more than the recipient already knows. A private delivery may be kinder than a public presentation.
More Festive and Occasion Reads
Explore these related guides for personal cards, gift replies, birthday notes, and longer messages:
- Wish Card Ideas: Personal Messages and Designs
- Thank You for the Lovely Gift: Messages and Replies
- Birthday Card for Mother: Messages and Ideas
- Birthday Letter for Best Friend: Heartfelt Examples
Frequently Asked Questions about Thank You Card Making
What is the easiest thank-you card for a beginner?
Fold medium-weight cardstock in half, add one simple cover shape or title, and write a specific message inside. A clean layout is easier to finish well than a complicated moving design.
What should I write in a short thank-you card?
Name the person’s action and its effect. For example: Thank you for helping me prepare for the interview. Your clear advice made me feel much more confident.
Can children make thank-you cards?
Yes. Provide age-appropriate scissors, washable materials, and adult help for cutting tools. Preserve the child’s own wording and drawing instead of correcting every handmade detail.
How can I stop the card from looking messy?
Use a limited palette, measure before cutting, test the layout without glue, and leave blank space. Let wet materials dry fully before folding or writing.
Is a gift necessary with a thank-you card?
No. A sincere, specific card is a complete gesture. Add a keepsake or gift only when it suits the relationship, occasion, and recipient’s comfort.
Conclusion
Successful thank you card making combines a manageable design with words that recognise a real act of care. Plan the size, test materials, write the message before committing it to the card, and finish every edge patiently. Whether the result goes to a teacher, friend, colleague, relative, mentor, or host, specific gratitude will matter more than perfect craft technique. A carefully made card allows appreciation to remain visible after the conversation ends.
Leave a Reply